My current DSLR camera is a Cannon EOS 60D with an 18-200 mm lens. My brother-in-law is a professional photographer and he swears by Cannon. He says their chips and software is the best, so the rest of the family has Cannons as well. We used to be an Olympus family but made the switch when everyone converted from film to digital.
The 60D’s bells and whistles can make the camera a little daunting. Cannon’s operating manual is horrible, and even the highest rated 3rd party books are too dense to be useful. I spent the first two months perpetually frustrated by the 60D interface and getting lost in chapters upon chapters of information that gave me little practical advice. And I had been using various cameras for 20 years!
Here’s my heavily simplified, net-net version, to help you get up and running quickly and using at least 75% of the camera’s capability. Note that the information below assumes you want to go beyond the numerous pre-set, automatic control modes provided by Cannon such as Landscape, Macro and Portrait, which make up at least 50% of camera’s features. Mastering the semi-automatic modes will allow you to include some of the artistic effects photographers seek such as intentionally blurring of motion or throwing some portions of the image out of focus.
#1 It’s all about the Q button!
I suspect Q stands for Quick, but I’d like to think someone at Cannon has a sense of humor and it is a reference to the James Bond franchise since it gives you instant access to lots of gadgets. Press Q in any of the manual control modes (e.g. P, AV, TV, M, B, C which is selected using the rotating mode dial on top left, see photo below) and you have quick access to the majority of items you need to change on the fly.

Rotating Mode Dial
Press the Q button and you’ll see the following screen:

Quick (Q) Control Screen
I find myself using the Q control panel to change the following:
Toggling between color and black & white. I frequently switch between shooting in color and black & white and will toggle between F (Faithful) and M (Monochrome) regularly. Thankfully these two modes are adjacent and you can use the round selector dial located just below the Q button (see photo below) to quickly transition from one mode to the other.
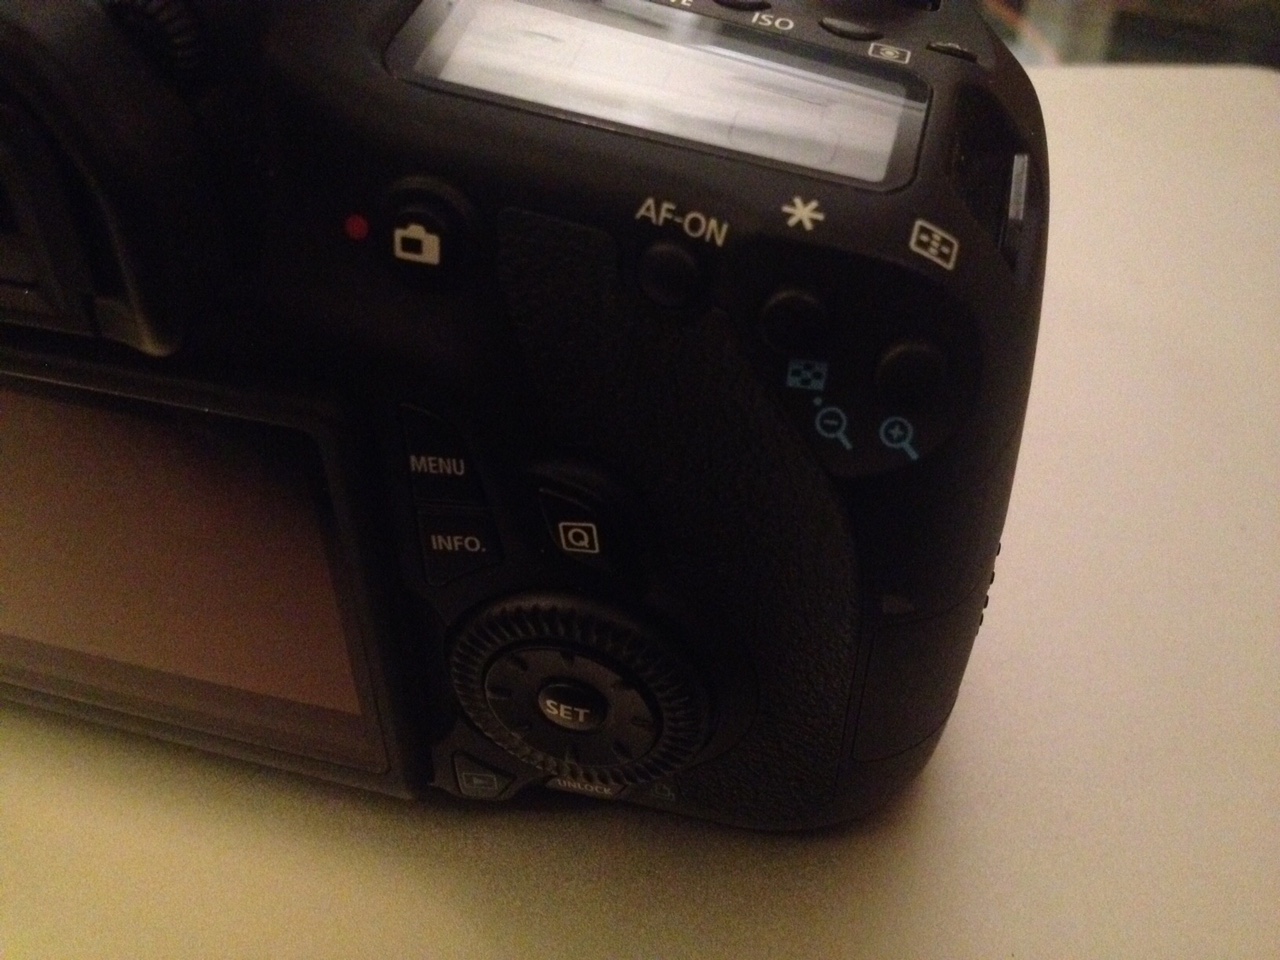
Round selector dial located just below the Q button
Set the ISO and f/stop. Cannon does provide another quick way of changing the ISO by dedicating a button on the top right to ISO. But given how the 60D’s semi-automatic modes work I don’t find myself frequently changing ISO on the fly but setting both once and adjusting only due to major environmental changes (e.g. moving from outside to inside).
Select the light metering option. I had never used this option prior to going on a photo safari but was taught on that trip to use evaluative metering, or even spot metering, instead of a more typical center weighted. This allows you to get the right exposure for subjects that may be in the shade but surrounded by a bright environment.
#2 Get comfortable with the semi-automatic AV and TV modes
Who can explain Cannon’s rationale for naming the AV and TV modes? If you check the book you’ll see that AV stands for aperture priority and TV is shutter priority. Seems the modes should have been called AP and SP. I have no good mnemonic for these names, I simply remember AV as the aperture mode because of the letter A. I then remember that TV is, “the other one,” which by default is shutter speed.
a. Chose AV mode when you want to control the depth of field. Frequently photographers choose to have some elements of the image out of focus, often for dramatic effect or to concentrate the viewer on a specific aspect of the image. This mode allows you to choose your f/stop, and therefore your depth of field, and the camera does the rest. Remember, smaller f/stop means smaller depth of field.
b. Chose TV mode when you want to control the shutter speed, e.g. when you’re photographing a fast moving item such as water or a bird and want to either blur it with a slow shutter speed or freeze the image with a super fast shutter speed. Choose your shutter speed and the camera does the rest.
I hope that helps you get started.
Enjoy!