You know you want them…photos of far-flung places that your friends can’t wait to see! You spent the time and the money to travel there, so bring back photos that capture the beauty of the location and tell a story.
These tips assume you have mastered the basics of photography and your primary goal in traveling is to have fun. That means I assume you have mastered your SLR in all of its modes and understand fundamental ideas of composition. But I also assume your primary travel goal is experience the sites, enjoy the company of travel companions, not to spend a week stalking one photo with two tons of gear in tow. In short, you prioritize fun over photos, but still want to return with excellent shots.
My four basic tips are: Feeling, Light, Adaptability, Perspective (FLAP). Actually, if I were to list the tips in my order of priority, they would be Light, Perspective, Adaptability and Feeling. But who can pronounce or remember LPAF?
1. Light: It really is all about the light
I know this one is obvious - dramatic light makes a photo. Your best photos will be shot near dawn or dusk, but like you, I enjoy sleeping on vacation. Frequently you don’t have a choice, the only time you’re going to be on the Piazza San Marco is for two hours around noon. How do you still get good photos when the sun is straight overhead? Shoot different types of photos. This is the time of day to get close ups, grab action shots of loved ones, or change landscapes into silhouettes.
Shooting at high-noon means shadow free, boring light that does little to enhance a photo
One tip for improving photographs when shooting at high noon is to angle the camera into the sun, creating silhouettes
2. Perspective: (Almost) Never shot from eye-level
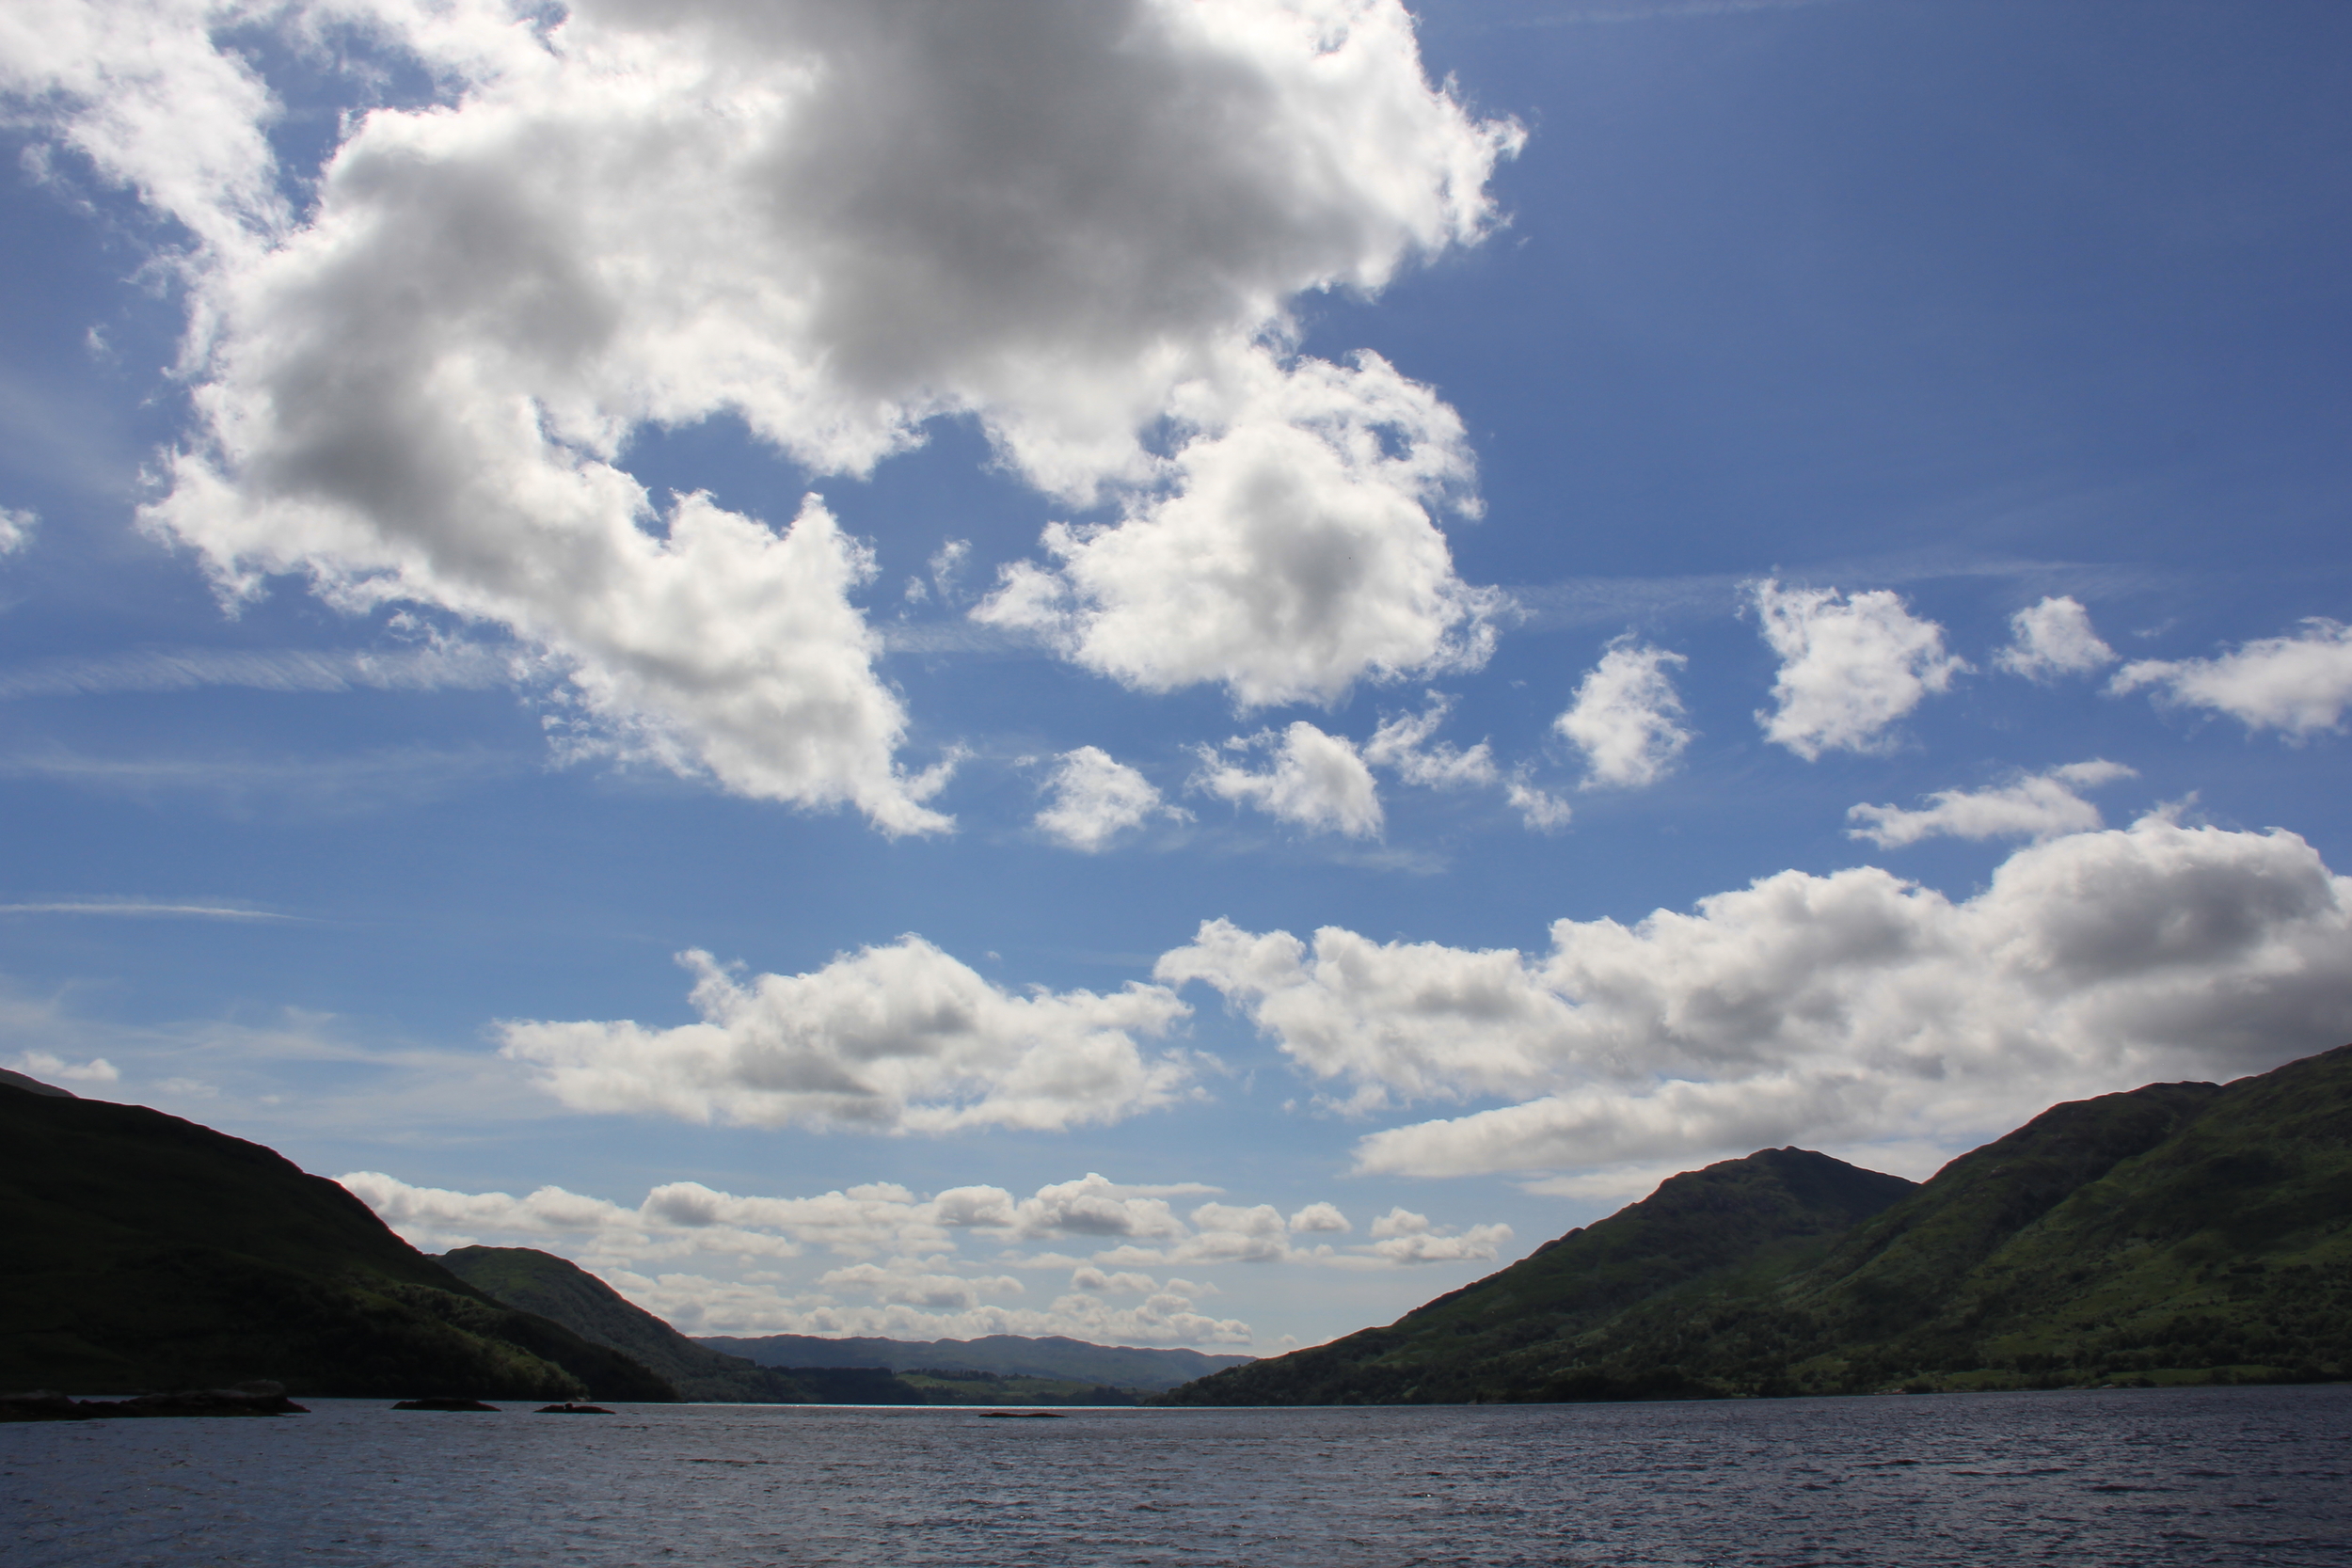
An unpredictable photo, one that takes a moment for the brain to process, is automatically more interesting and provokes a second look. Changing perspective is one of the easiest ways to instantly make photos more interesting. A non-eye-level perspective offers a viewpoint seldom seen. Bend down and get the camera one foot of the ground, shoot from your knee if you’re sitting, or even hold the camera above your head. A swiveling display on your camera will greatly enable this, but I did this for years without one.

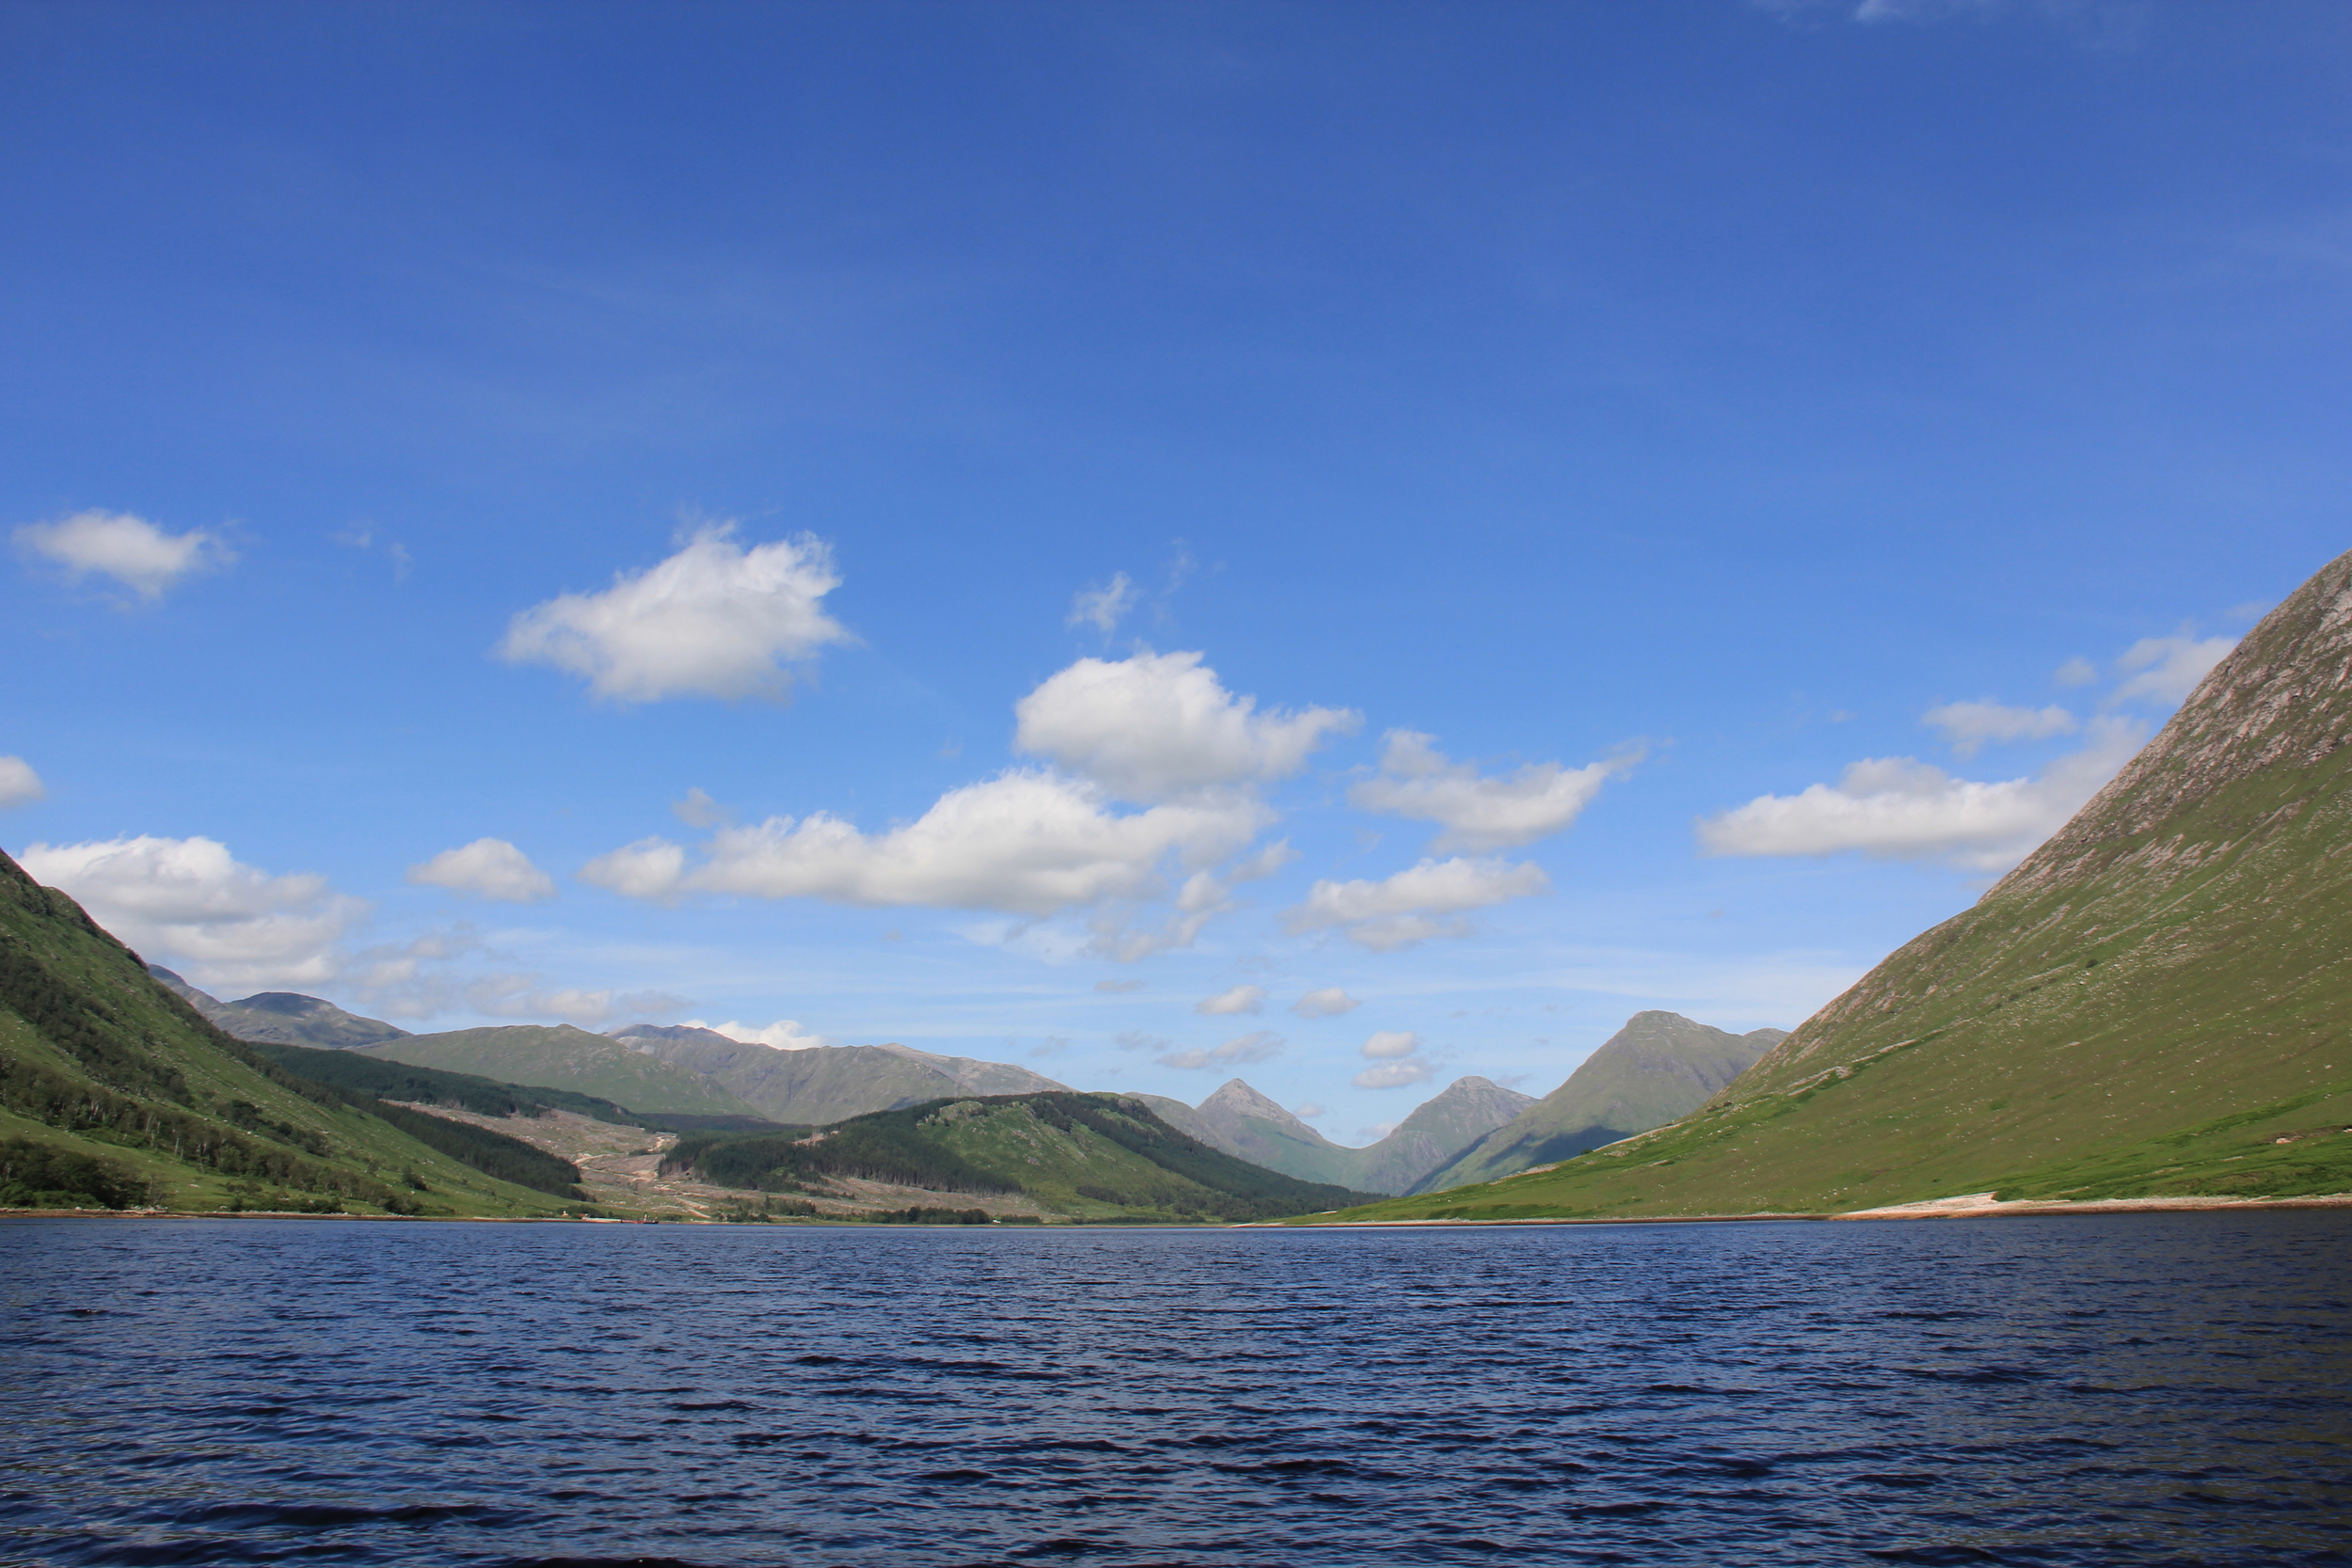
Dropping the camera a foot off the ground offers a more interesting perspective and, in this case, emphasizes scale of Red Square in Moscow
3. Adapt: Work with the weather, it’s not like you've got a choice!
Unless you’re a professional photographer on assignment, you won’t be able to spend a week returning to one location waiting for perfect weather and light. When traveling, most of us are on some kind of schedule and may only have a few hours at a site to experience the location and photograph it. When the weather is lousy, photographic adaptability is key to good photos. If the weather is misty or rainy, switch to black and white mode and the lack of color becomes a mood-enhancing asset. If the weather is foggy, emphasize the “disappear” aspect, framing photos that include both close and distant items that fade away in the gloom. If it is just dull gray light from overcast weather, then default to tip #2 and shoot close-ups.
Heavy mist in southern France is resulting in boring color photos

Presto! Change to black and white mode and suddenly the misty weather becomes as asset
4. Feeling: Focus on one feeling and capture it
This is the hardest tip to explain. Many books and sites will tell you to research your travel destination before you try to photograph it. Here’s my simpler version: focus on the first thought that comes to mind when you get to a location and emphasize that in your photos. For example, to me the Caribbean islands are defined by water – playful, translucent and divine. To capture that feeling I need to get in/on/under the water, static shots from dry land are not going to cut it. If you have a waterproof housing, use it liberally! Capture the translucence by shooting down into the water. See more examples highlighted in the travel photo blog.
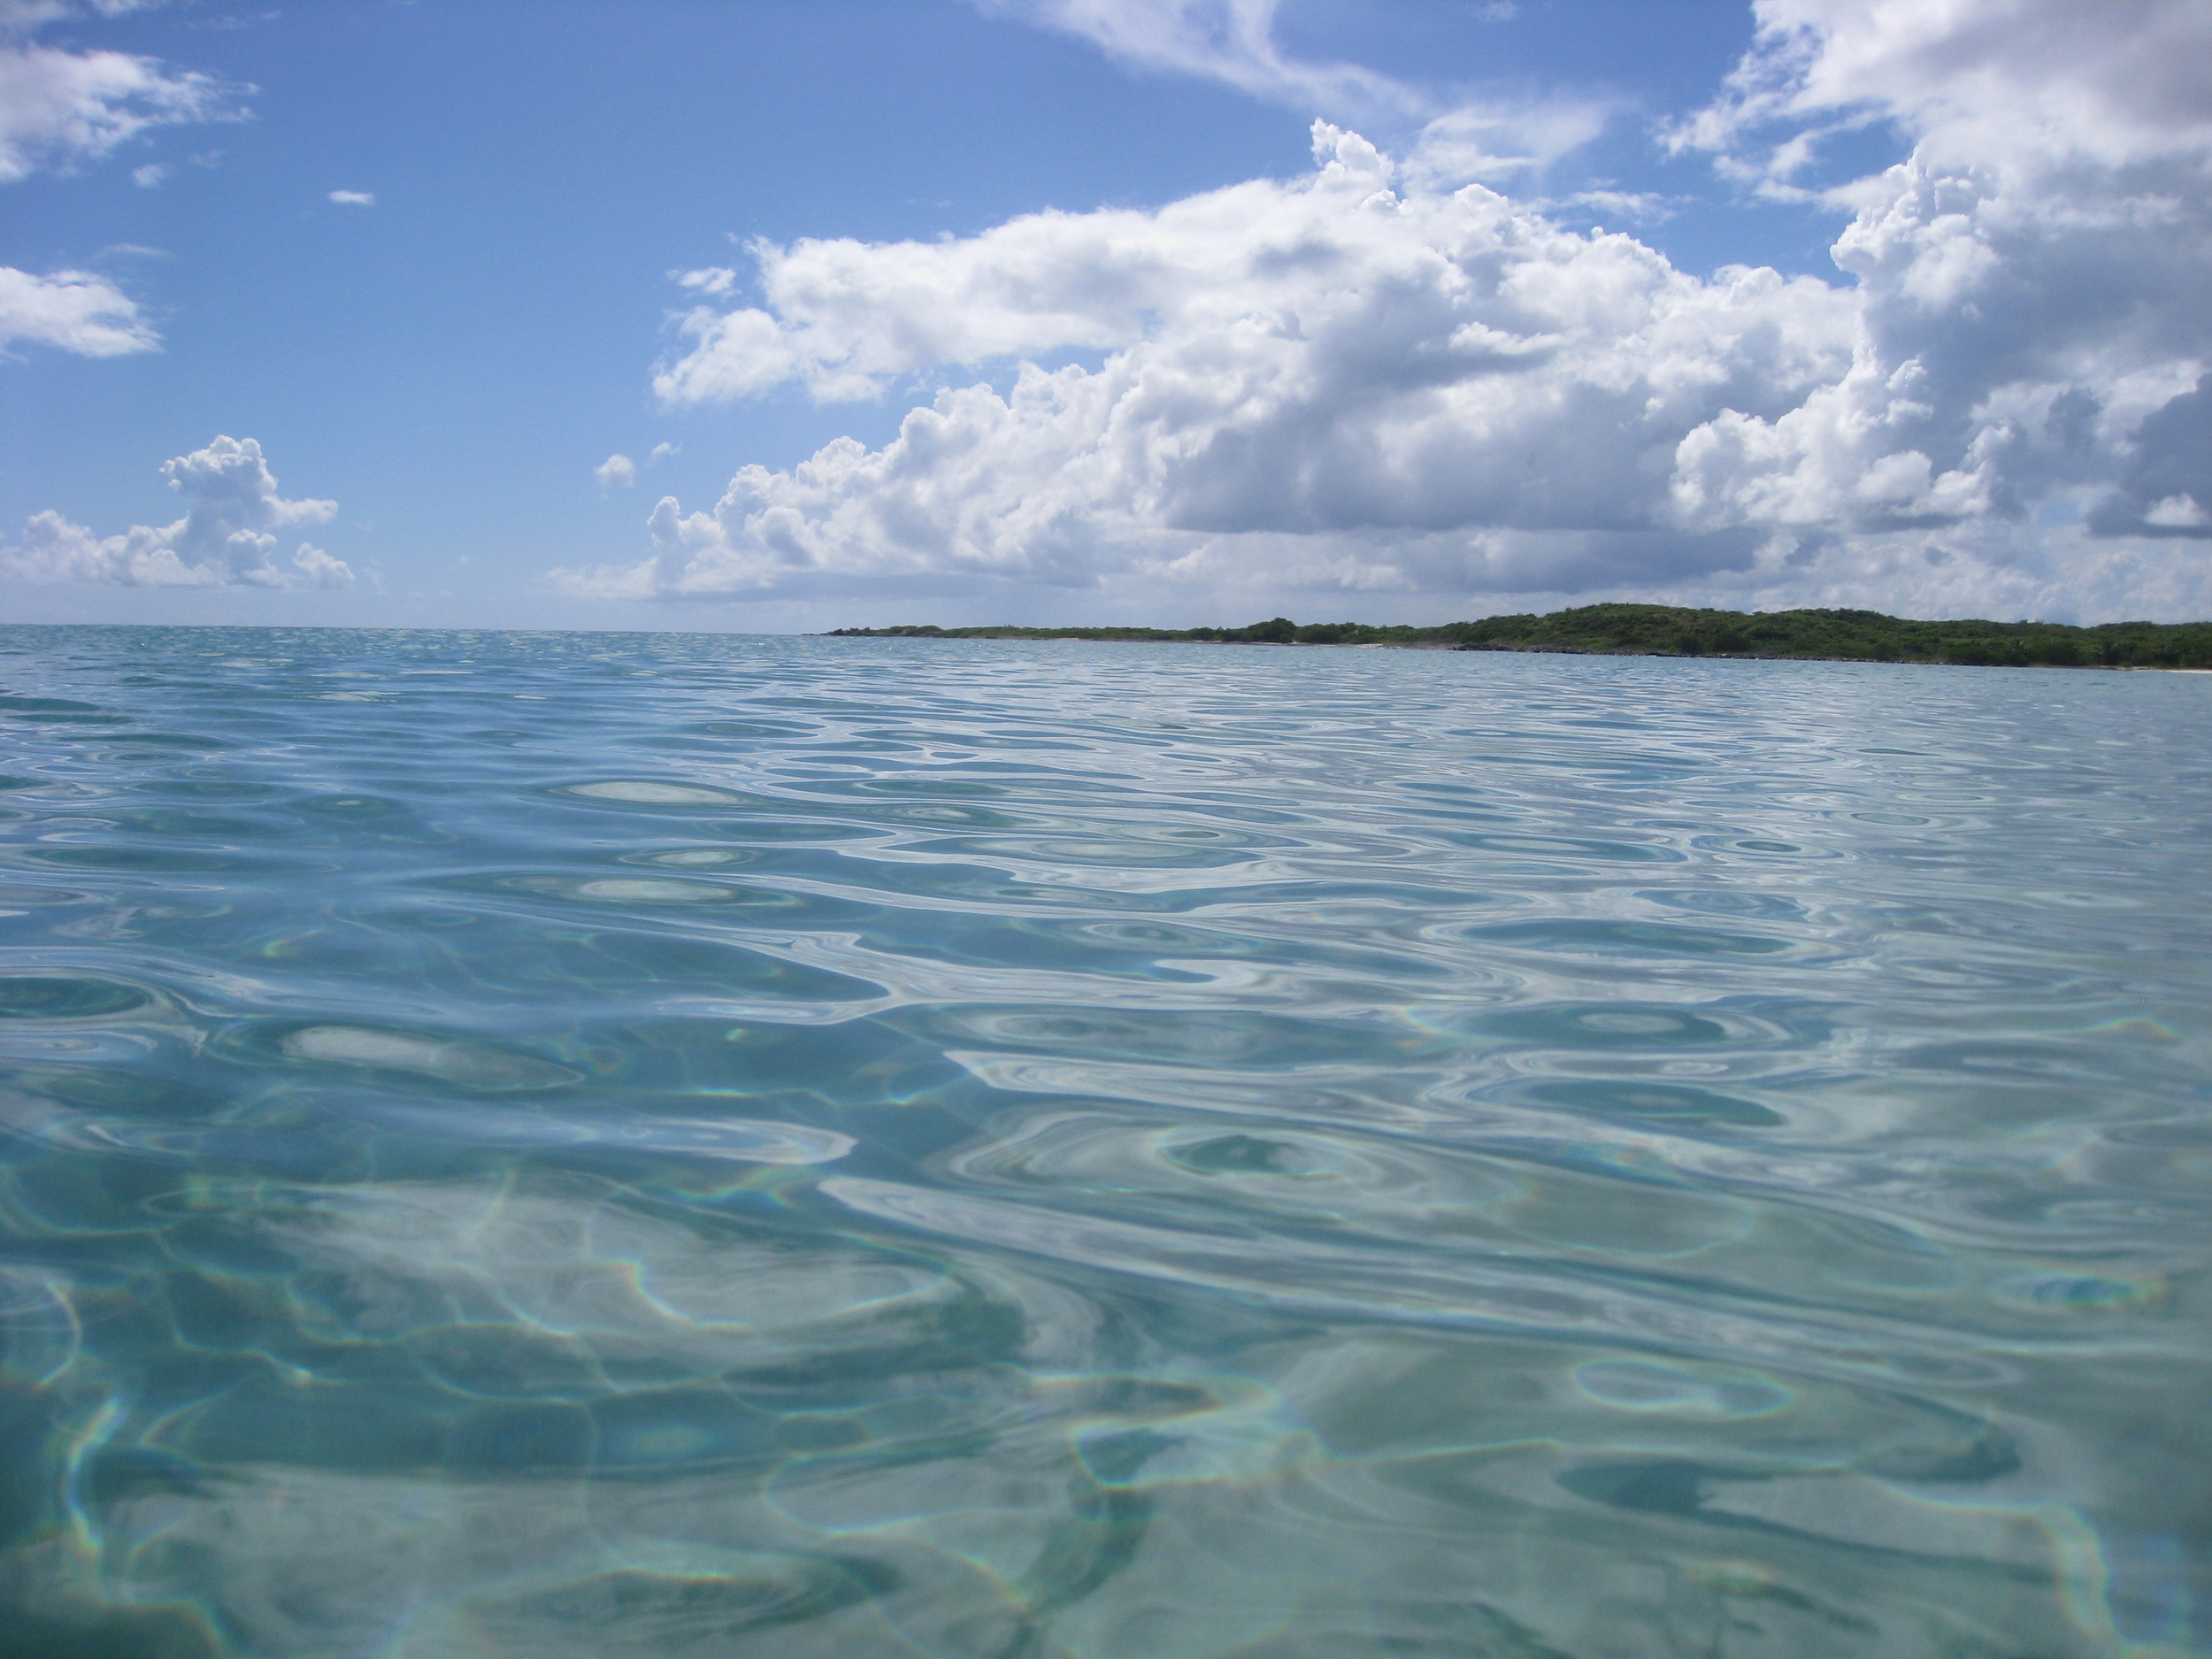
For me, the Caribbean is defined by water - to capture the feeling of calm translucence I wade out into the water and shoot low